How To Build A Wooden Cremation Urn Guide
Introduction
Creating your own pet cremation urn is a deeply personal experience that can be healing process. It allows you to memorialize your pet in a unique way, ensuring that their final resting place is as special as the life they lived. This guide draws on the expertise of First-urn, a well-known wooden pet urns and cremation urns manufacturer, to guide you through the process of making a wooden pet cremation urn.

Materials Needed
- Choice of wood (e.g. cedar, oak, walnut) that reflects the aesthetic and scent preferences that fit your pet's memory
- Basic woodworking tools (saw, sandpaper, chisel)
- Wood glue and clamps
- Oil or varnish for finishing
- Personalized embellishments (photos, engravings)
Detailed operation process
Step 1: Design planning
It is crucial to plan the design of your urn before starting to make it. the size of the urn should be according to the weight of your pet (approximately 1 cubic inch per pound of body weight). You can then decide on the shape and the personalized elements you want to include, such as carvings or a small compartment for keepsakes.
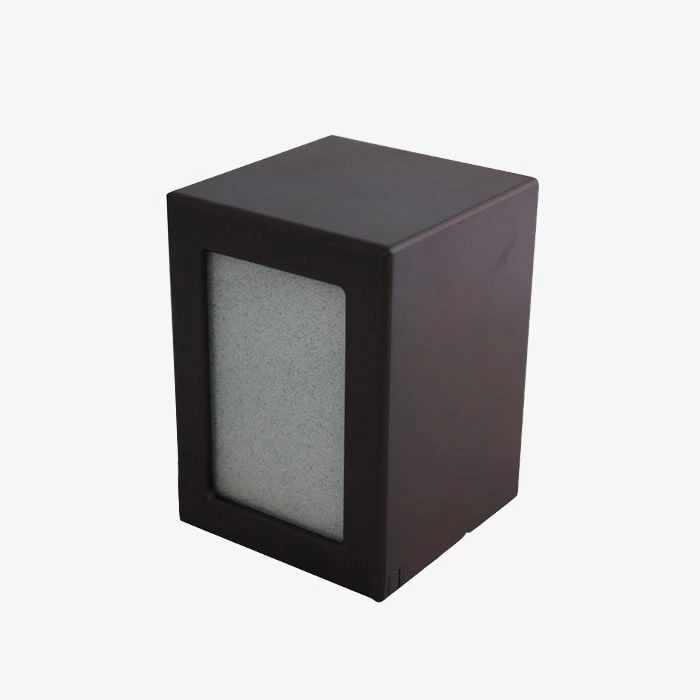
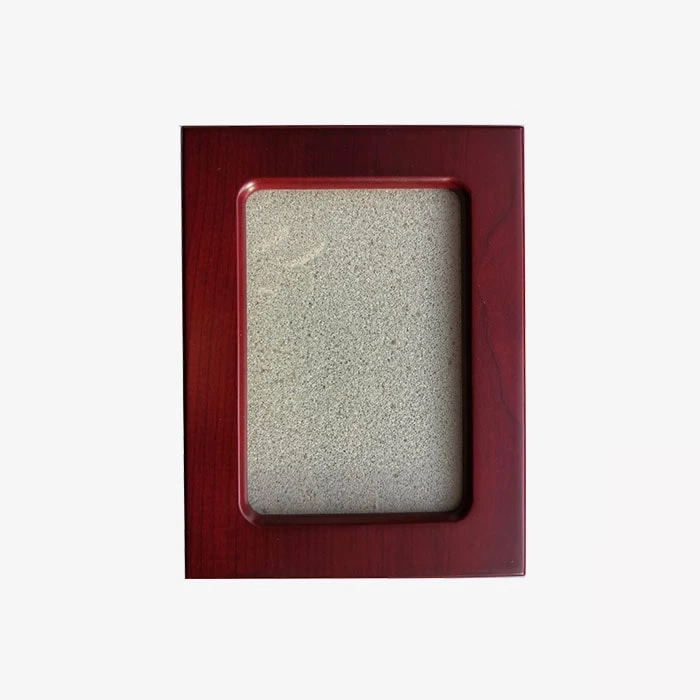
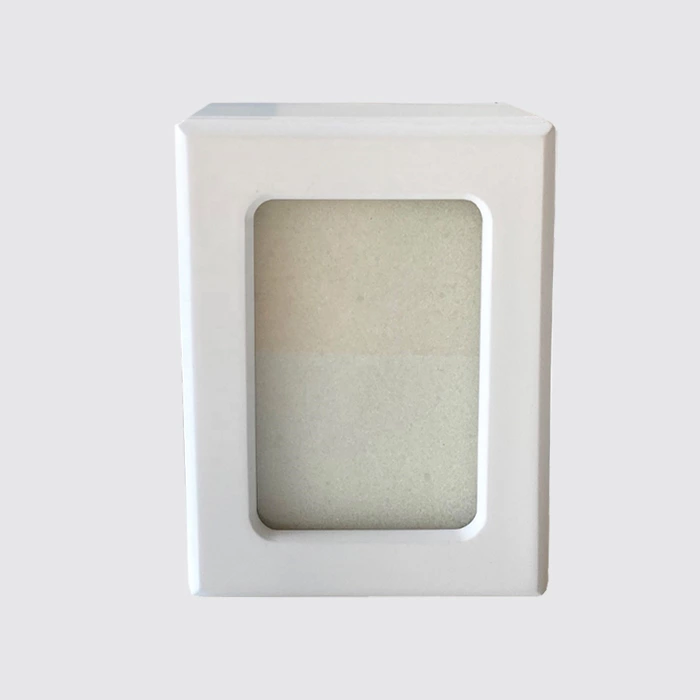
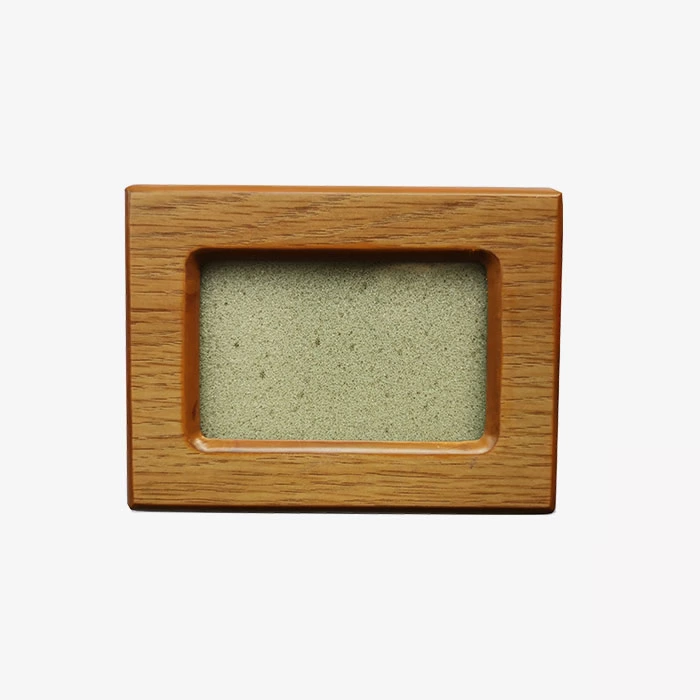
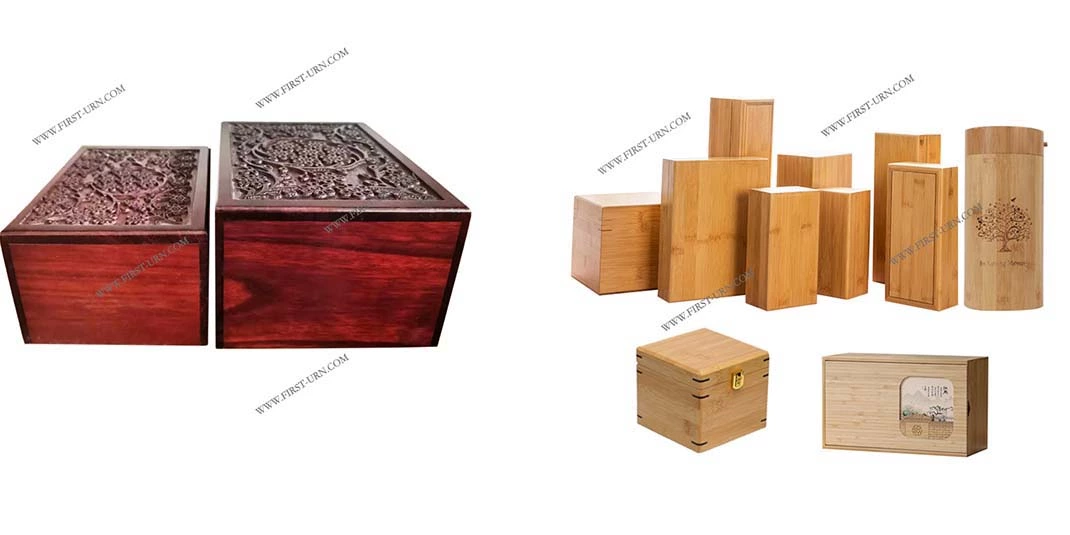
The next step is to select the right wood as the material for the urn. Here popular options include walnut, oak and MDF, etc., as well as these woods are well-suited used for their attractive texture and color, easy of processing and durability. Other optional materials that may be suitable include warm cherry, soft fir, solid walnut, elegant mahogany, fresh bamboo and natural pine, all of which can meet the personalized needs of different customers. These wooden materials are not only biodegradable and environmentally friendly, but also allow customers to personalized their purchase through DIY.
Step 2: Cut and Assemble the Wood
The wood should be cut to the desired size based on your design. For a basic urn, you will need a base, four sides, and a top. Each section should be sanded to prevent thorns and ensure a clean, smooth appearance. The sections should be Assembled using wood glue and secure with clamps until the glue dries. For added durability, dowel or screws can be used.
Detailed steps on how to use screws to fix the position of wood and how to seal with wood glue:
- Choose the right wood glue:
First, choose a high-quality wood glue that is suitable for the type of wood. Different types of wood may require different types of glue to ensure the best bonding effect.
2. Clean the surface
Prior to applying wood glue, it is essential to make sure that the wood surface is clean and dust-free, without oil stains or other impurities. This will enhance the adhesion of the glue. If you find that the edges of the 4 wooden blocks have burrs, it is best to use sandpaper to sand them again to prevent pricking your hands and ensure a clean appearance.
3. Apply wood glue
• Apply a layer of wood glue evenly on the joint edge of each wooden board. In order to ensure that the glue can better bond the wooden boards, it is recommended to apply a thin layer of wood glue on each joint surface.
• Use a brush or squeeze directly from the glue bottle to ensure that the wood glue covers the entire joint surface, but do not apply too much, so as not to squeeze out too much glue and affect the overall appearance
4. Assemble the wooden boards
• Align the edges of the wooden boards coated with wood glue and press lightly to ensure a tight fit . During this process, you can manually adjust the wooden boards to ensure that their angles and positions are accurate.
• Pre-drill holes at the joints of the boards (if screws are used) to prevent the boards from splitting when the screws are driven in.
5 Fixing and pressing
You can fix the boards through the pre-drilled holes using screws or pins. Use a screwdriver or nail gun to ensure that the screws/pins are firmly driven in, but be careful not to overtighten to avoid damaging the boards.
While the screws/pins are fixed, you can use clamps or heavy objects to keep the boards pressed until the wood glue dries. This ensures a tighter joint between the boards and enhances the stability of the overall structure.
6. Clean up excess glue
Use a damp cloth to clean up excess glue that has spilled before the glue is fully cured to avoid difficulty in cleaning after curing.
7. Wait for drying time
Follow the instructions of the wood glue and allow sufficient time for the glue to dry and cure completely. Usually, the time for wood glue to fully cure may vary from a few hours to a day.
8. Final inspection
After the glue is dry and cured, check the stability and appearance of the joint to ensure that there are no looseness or cracks. Additional sanding or touch-ups can be performed if necessary.
Using wood glue to seal the screws in place is an important step in the DIY wooden urn process, which not only enhances the stability of the structure, but also improves the overall beauty of the finished product. Make sure to follow the correct steps and techniques to create a wooden urn that is both sturdy and beautiful.
Step 3: Finishing Touches
After the glue has dried, sand the urn again to smooth any uneven edges or surfaces. Apply wood wax or varnish to protect the wood and give it a polished appearance.
Step 4: Personalization
Personalizing the urn is an option that allow you to engrave your pet's name, dates, or meaningful quotes. You can also include photos or decorate the urn with symbols that represent your pet's personality. This step allows you to create a unique tribute to your pet's life.
Step 5: Close the urn
If the urn you are designing has an opening, please indicate whether you would like it to be permanently closed or accessible. For permanent closure, apply wood glue to the top edge and clamp until dry. For urns that allow access, consider installing small hinges.
Conclusion
Making a DIY cremation urn is a meaningful way to pay tribute to your beloved pet. Through this process, you not only create a final resting place that reflects shared love and memories, but you also participate in a healing act of remembrance and closure.

